
Cherrywood Cabinet Care Guide
🌳 Caring for Your Radique Audio Cherrywood Cabinets & Side Panels
A little gentle love goes a long way — and cherrywood loves you back 😊
Welcome to our cherrywood cabinet care guide. Your Radique cherrywood cabinet or side panel is a handcrafted piece of natural finishing — no stains, no plastic-y polyurethane, no synthetics. These care tips will help you keep it looking its best for decades to come, explain exactly how we finish it in our shop, and cover how cherrywood naturally darkens over time (and how to influence that if you’d like to). 🏡
🌳 Cherrywood cabinet care starts with the finish — what’s on mine?
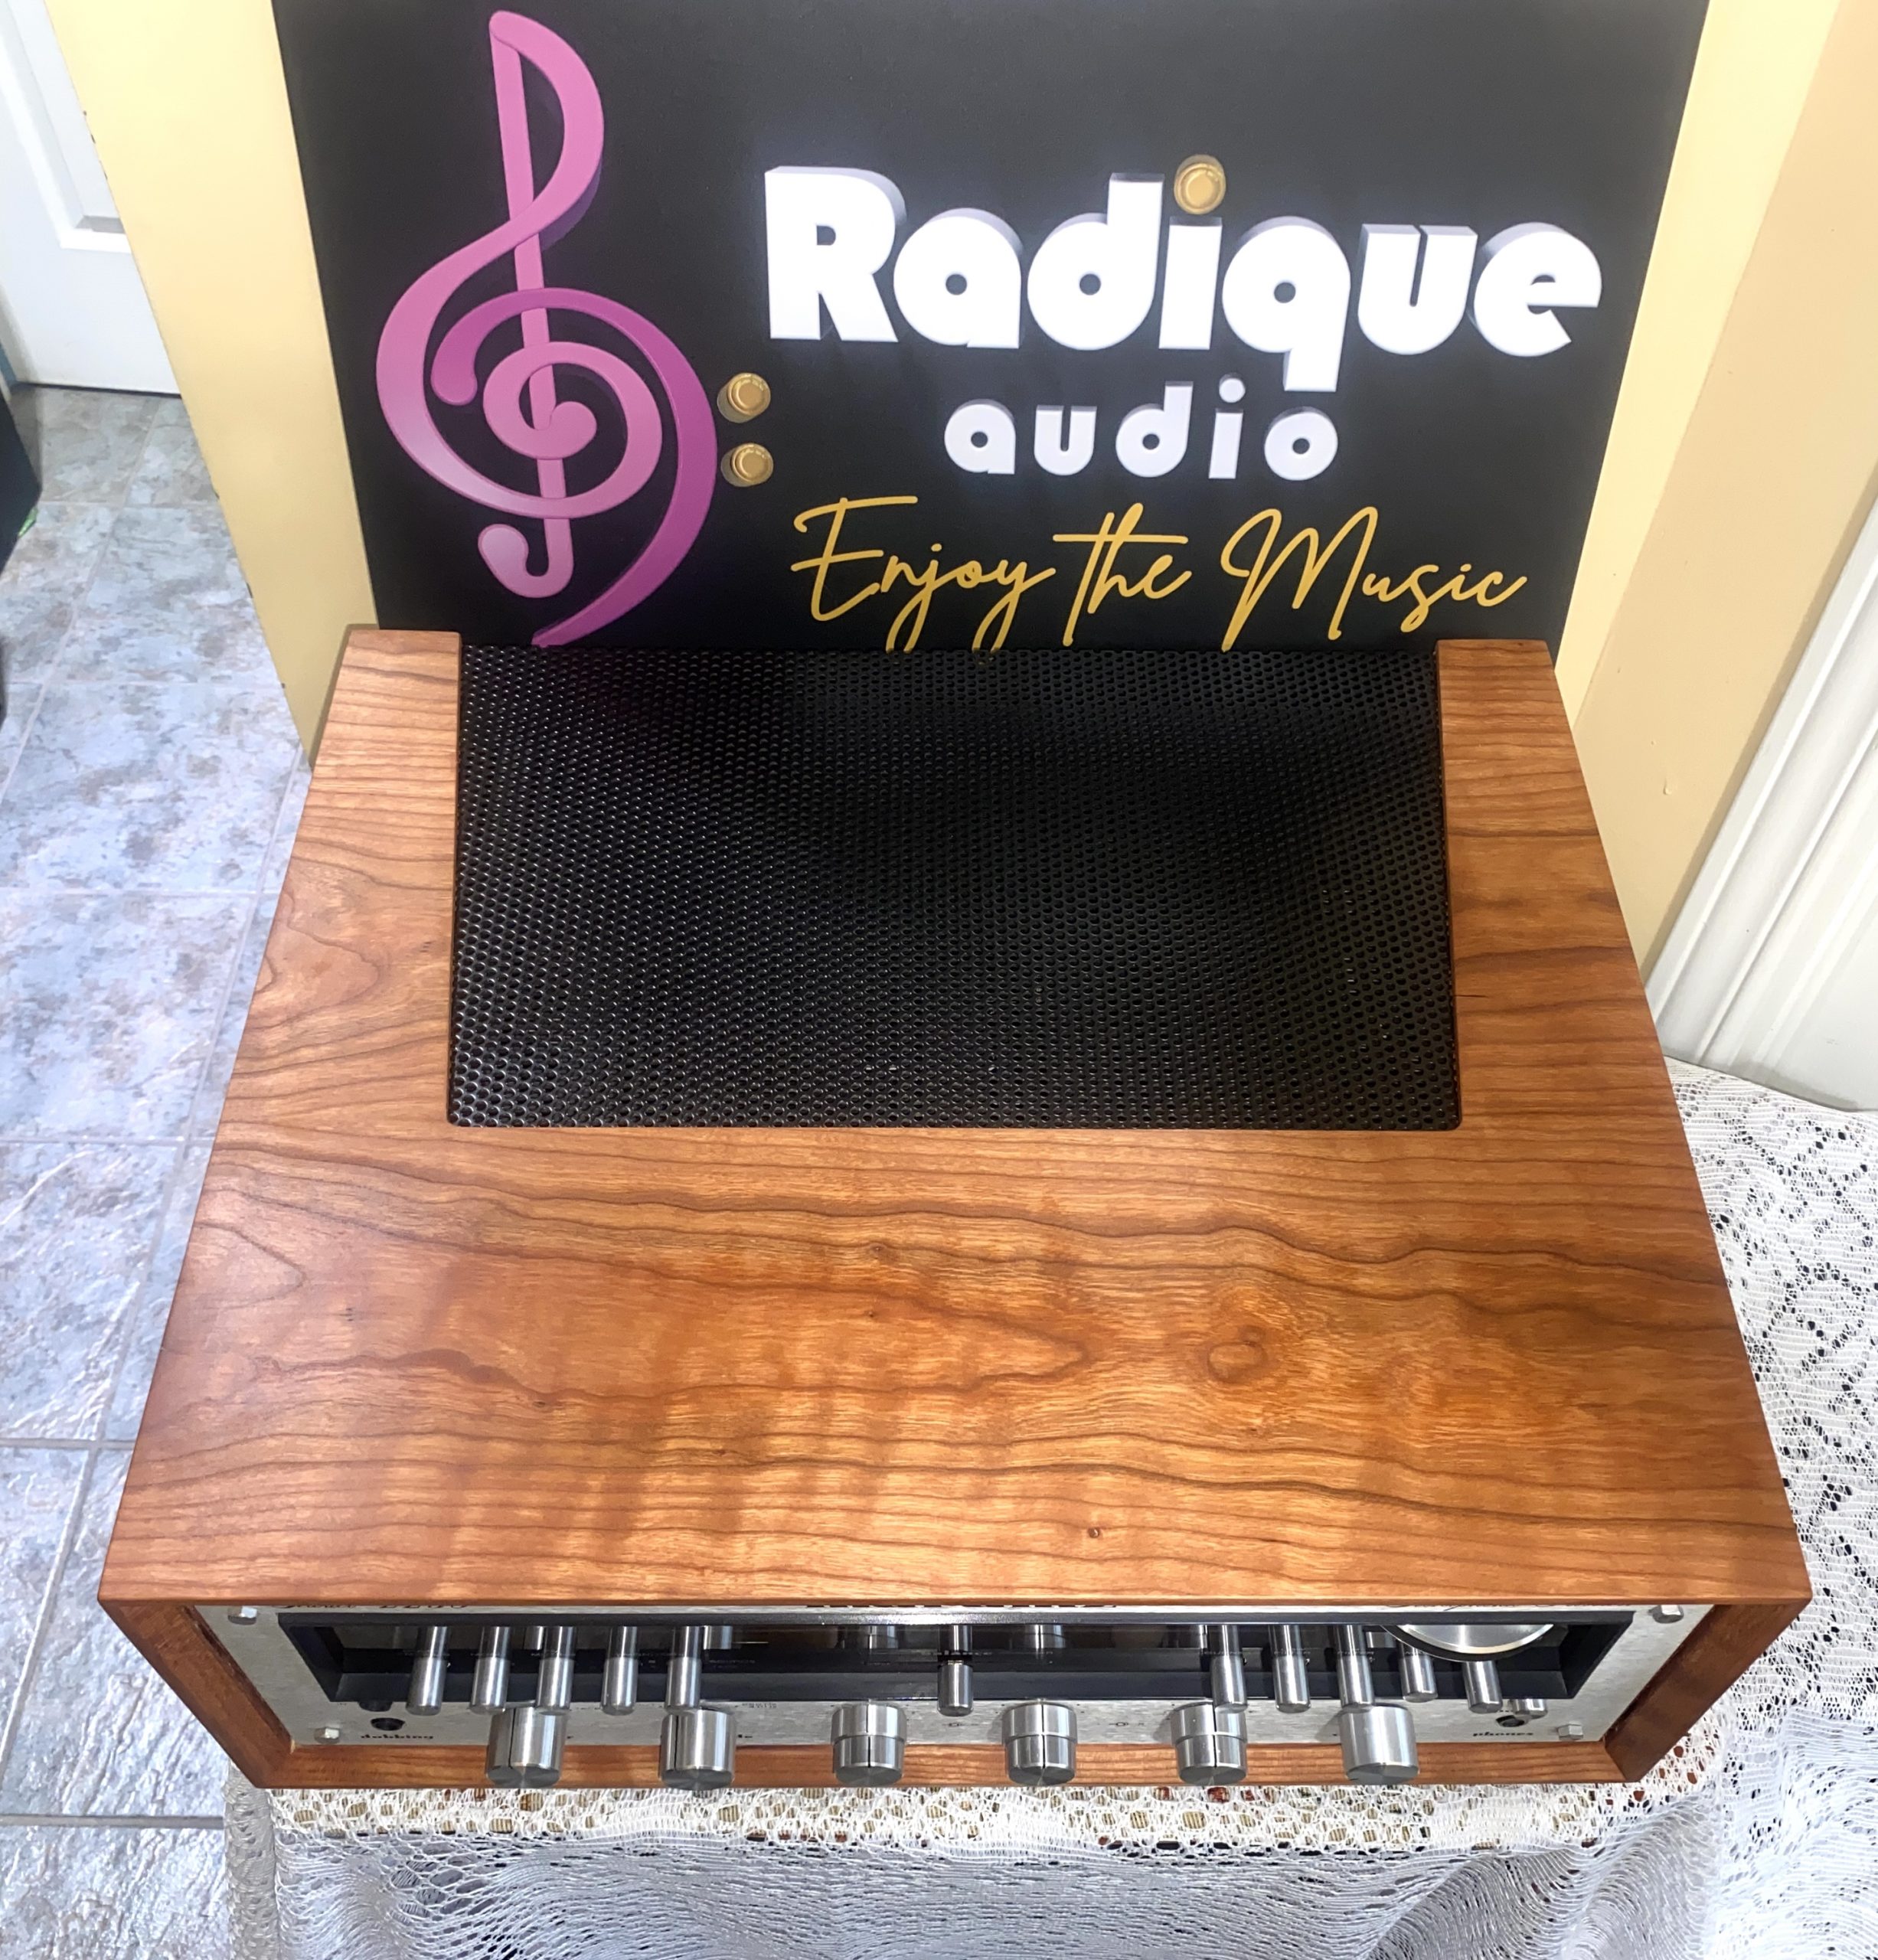
Your Radique cabinet or side panel uses genuine Ottawa Valley cherrywood veneer, finished the old-fashioned way: natural oils and waxes — no stains, no plastic-y polyurethane, no synthetics. This lets the real grain and colour of the cherry come through instead of sitting under a thick, glossy coating.
Here’s exactly how we do it: the veneer is sanded to a silky 320-grit smoothness before a traditional boiled linseed oil finish is hand-applied and allowed to fully cure — bringing out the rich, natural beauty of the wood grain from within. A final coat of beeswax polish adds a warm, subtle lustre and lasting protection. The result is a living piece of craftsmanship — made with care, not chemicals — and one that will look even better a decade from now than it does today. That’s why cherrywood cabinet care is so simple: the finish does most of the work for you. 🌟
One of cherrywood’s superpowers is that it naturally deepens in colour over time — moving from a lighter honey tone toward a richer reddish-amber patina. That change is normal, expected, and part of the charm.
🛒 Interested in adding one of our handcrafted WC-22 style cabinets to your own Marantz receiver? You can browse current availability on our WC-22 Style Cherrywood Cabinet listing. 🎛️
⚠️ Important: These care tips are specifically for Radique-finished cherrywood, including our WC-22 style Marantz cabinets, the custom cherrywood cabinetry we build for 1970s Pioneer SX-series receivers, and the wide range of cherrywood side panels we apply to vintage gear — including Sony cassette decks and stereo receivers, Sansui integrated amplifiers, Harman Kardon, Denon, and many more (with more brands being added all the time as our service work evolves). If your cherrywood was finished elsewhere or with a different product, please follow the instructions provided by that maker instead — ours may not apply.
🎨 Can I stain the cabinet to make it darker?
Short answer: no — and you probably don’t need to.
Our cherrywood cabinets and side panels are finished with boiled linseed oil and beeswax, which fully seals the wood. Because the finish is already absorbed and cured, stain won’t penetrate — it’ll just sit on the surface, look uneven, and likely wear off over time. Going meaningfully darker would require a full strip-and-refinish, which is a significant undertaking we don’t recommend for most customers.
The good news: cherry is famous for darkening beautifully on its own. Over weeks, months, and years of normal room exposure, your cabinet will naturally develop a rich, warm, reddish-amber patina. It’s one of the reasons cherry has been a prized wood for fine furniture for centuries — it only gets better with age. 🍒
Want to speed the darkening up?
• ☀️ Direct sunlight accelerates the process dramatically — UV exposure is what drives cherry’s colour change, so a few hours of sun per day will noticeably deepen the wood within weeks rather than months.
• 🔄 Rotate the cabinet periodically to keep the darkening even across all sides — otherwise you can end up with a noticeably lighter back, bottom, or shaded face.
• 👀 Avoid over-exposure — intense, all-day direct sunlight can eventually dry out the finish. A few hours of sun per day is ideal; a south-facing window with full-day exposure is too much over time.
If you’re truly committed to a dramatically darker finish and can’t wait, reach out at [email protected] — we can discuss a full refinish project, though it’s generally only worth it for higher-value cabinets. For most cherry pieces, patience (and a sunny spot) delivers a far more beautiful result than chemistry ever could.
🪵 What about other Radique custom wood finishes?
These cherrywood cabinet care guidelines are specifically for our cherrywood finish. If you’ve purchased one of our custom cabinets or side panels in a different wood species or finish style — for example, walnut, oak, or a stained/sealed finish we’ve done as a one-off — these tips may not all apply. Each wood and finish combination has its own personality and care requirements.
If that’s you, please reach out to us directly at [email protected] or call 613-416-9995, and we’ll walk you through the specific care instructions for your piece. We keep notes on every custom job we do, so we can tell you exactly what finish is on your cabinet and how best to look after it. 📒
✅ What should I do for day-to-day care?
Good cherrywood cabinet care really comes down to three things: keep it clean, keep it dry, and dust it gently. 🙌
DO:
• Dust regularly with a soft, dry microfiber cloth — always wipe with the grain, not across it.
• Wipe spills immediately using a slightly damp cloth, then dry the area right away.
• Clean gently when needed with a few drops of mild dish soap in water on a barely damp cloth, followed by a dry cloth.
• Place components down carefully rather than sliding feet across the surface.
• If your component has very hard or sharp feet, consider felt pads to avoid point pressure over time.
☀️ How much light is too much for cherrywood?
Cherry is like a good marriage: it gets better with age, but you can influence how fast it changes. 💞
• If you love the current lighter honey tone and don’t want it to darken much, keep it out of strong direct sunlight.
• If you’d like that deeper reddish-amber patina, a bit of indirect light over time will get you there very nicely.
• For cabinets and panels near a window, it’s a good idea to rotate components occasionally so one area doesn’t darken faster than everything else.
💧 What about humidity? Where should I not put my gear?
Humidity is cherrywood’s worst enemy — and honestly, it’s terrible for your vintage audio gear in general. 😬 High humidity can cause veneer to bubble, swell, or lift, and will accelerate corrosion on the internal electronics of your vintage amplifier, receiver, or cassette deck.
Please keep your cherrywood gear far away from:
• 🛁 Washrooms where regular showers or baths are taken
• 🧖 Saunas, hot tubs, and indoor pools (lucky you!) 🍀
• 💨 Humidifiers — especially these! They’re not just bad for your cherrywood, they’re a nightmare for vintage audio gear in general
• 🌬️ Any consistently damp or poorly ventilated space (basements without dehumidification, laundry rooms, etc.)
Your gear will be happiest in a normally climate-controlled living space, at typical indoor humidity levels. If you live in a particularly damp climate, a dehumidifier in the same room is a great investment — your cherrywood and your electronics will thank you. 🙏
📚 Can I stack other components on top of my cherrywood cabinet?
We’d really rather you didn’t. 🙅 Two good reasons:
• 🌬️ Airflow matters for vintage audio. In general, vintage amps, receivers, turntables, and tape decks all run cooler and happier when they’re spaced out on a shelf or rack, rather than stacked directly on top of each other. Heat is the enemy of electronics, and good airflow is one of the simplest ways to extend the life of your gear.
• 🌳 It’s also much better for the cherrywood itself. A component sitting on top of the cabinet blocks light from reaching the wood underneath, which over time will lead to uneven darkening — the exposed areas patina naturally, while the covered areas stay lighter. When you eventually move the top component, you can end up with a visible “ghost” where it used to sit.
Ideally, give each component its own shelf with a bit of breathing room. Your ears, your wood, and your electronics will all be happier. 🎶
🧴 Can I use furniture polish or a spray cleaner on it?
Please don’t — the finish is designed to be low-maintenance, and most modern sprays do more harm than good. 🚫
Avoid:
• Chemical cleaners (ammonia, bleach, all-purpose sprays).
• Silicone-based furniture polishes — they build up over time and cloud a natural finish.
• “Reviver” or “refinisher” products unless we’ve specifically recommended one for a repair.
If you’d like to give the wood a bit of extra love, an occasional rub with a pure beeswax polish can be a nice ritual — something simple like a natural beeswax balm (we’re fans of Burt’s Bees-style products). Apply a very thin coat and buff gently with a clean cloth. Totally optional; the finish doesn’t require it to stay healthy. 🐝
💦 What about water rings, plants, and spills?
Cherry veneer + moisture = bad combo. ☠️
DO:
• Use coasters or mats under drinks, plants, or anything that might sweat or condense.
• Keep diffusers, kettles, and wet plants well away from the cabinet or panels.
DON’T:
• Let moisture sit on the surface, even briefly — it can cause veneer to bubble, swell, or lift.
• Park wet cloths or cleaning pads on top “just for a minute.” That minute is exactly when veneer decides to misbehave.
If something does spill, blot (don’t scrub), then dry thoroughly. The sooner you catch it, the happier the wood will be. 🧽
🔥 Can I place my cabinet or receiver near a heat source?
We strongly recommend you avoid heat vents, baseboard heaters, and radiators.
Heat and dry air can:
• Dry out the veneer and substrate.
• Lead to cracking, warping, or lifting at the edges.
• Accelerate uneven darkening in specific spots.
If a vent is nearby, try to redirect the airflow or give the piece a bit more distance so it’s not getting hit directly. 🌡️
🧱 Is it okay to slide gear or decorations across the top?
Sliding hard objects across a natural veneer is a great way to create micro-scratches and visible trails over time.
• Always lift, never drag. Pick up components, remotes, and decor rather than sliding them.
• If you like to rearrange things frequently, consider a soft mat or runner in the areas where items move most often.
For our WC-22 style Marantz cabinets, our 1970s Pioneer SX-series receiver cabinetry, and our cherrywood side panels on Sony, Sansui, Harman Kardon, Denon, and other vintage gear alike — treat them like furniture, not shop shelving. 🎛️
🧽 What cloths and cleaners are safe to use?
Stick to the simple stuff. 👍
Safe:
• Soft, lint-free microfiber cloths.
• Barely damp cloth with a drop or two of mild dish soap, followed immediately by a dry cloth.
Not safe:
• Paper towels (more abrasive than most people expect).
• Scrub pads, melamine sponges, or anything advertised as “heavy-duty.”
• Oil soaps or “feed-and-wax” mixes with mystery ingredients.
🧾 Do these care tips apply to any cherrywood furniture?
No — they are specific to Radique Audio’s cherrywood finish.
Our WC-22 style Marantz cabinets, Pioneer SX-series cabinetry, and cherrywood side panels on Sony, Sansui, Harman Kardon, Denon, and other vintage gear are all finished using the same in-house process — boiled linseed oil hand-applied to 320-grit sanded veneer, topped with a final beeswax coat. If you’ve purchased a cherrywood piece from another maker — or had a cabinet refinished elsewhere — their finish may be stained, sealed under polyurethane, or oiled with a completely different chemistry. In those cases, always follow that maker’s instructions. Our tips are tuned to the way we finish cherry. ✨
🛠️ Installing a WC-22 cabinet yourself? Watch our install video!
If you’ve purchased one of our WC-22 style cherrywood cabinets to install on your own Marantz 22xx-series receiver, we’ve put together a step-by-step install video on our YouTube channel to walk you through the process from start to finish. 📺
While you’re there, we’d love it if you’d subscribe to our channel — we post gear reviews, unboxings, and a bit of behind-the-scenes banter from our little shop in Ottawa. 🎬
🎯 What’s the bottom line?
Cherrywood cabinet care doesn’t have to be complicated — your Radique cabinet or side panel was finished the natural way, and natural finishes reward simple, gentle care.
• 🧹 Dust it with a soft cloth.
• 💧 Keep it dry and away from humidity and heat.
• 🌬️ Give it (and your gear) room to breathe — no stacking.
• ☀️ Let the cherrywood slowly develop its own beautiful patina over time — or place it in a bit of direct sunlight to speed things along.
• 🎨 Skip the stain — cherry darkens on its own, and does it better than chemistry ever could.
Do that, and your WC-22, Pioneer SX cabinet, or Sony/Sansui/Harman Kardon/Denon side panels will keep looking better every year — the way proper vintage gear should. 🎶